

Electronics & Computers · how to
How to Position a Desk Lamp for Better Video Calls
A camera-preview positioning method plus three distinct desk-lamp formats for solving shadows, glare, and limited desk space.
Use the camera preview to place one controllable light slightly above eye level and off-axis, then compare the result with window light before buying anything. The goal is an evenly exposed face without screen glare or harsh background contrast.
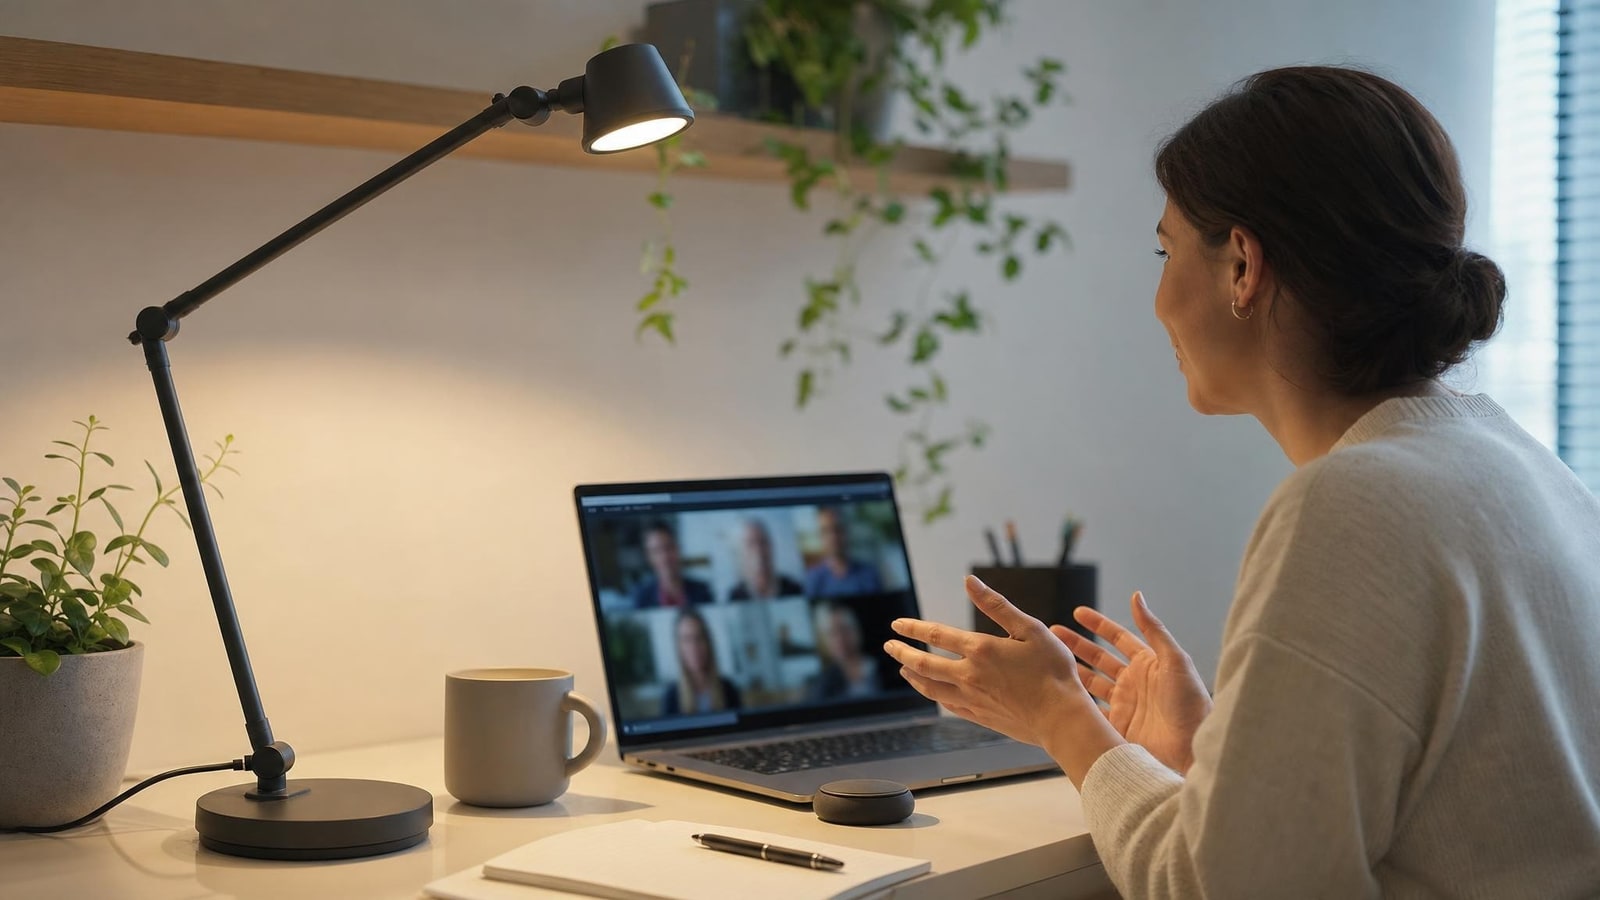
Quick product guide
Products featured in this guide
Lepro LED desk lamp with USB charging
Best for: A fixed desk where brightness and color controls can be positioned beside the screen.
Limitation: A base-style task lamp consumes desk area and still needs careful placement to avoid glare.
View on AmazonLepro metal LED task lamp
Best for: A fixed desk where a broad base and hinged arm can stay aligned between calls.
Limitation: It still occupies desk area and needs a camera-preview test at every brightness and color setting.
View on AmazonLepro clip-on desk lamp
Best for: A sturdy desk edge where a clamp and gooseneck can be aimed safely.
Limitation: Clamp fit, cable routing, and gooseneck stability depend on the actual desk edge.
View on AmazonBefore you start
Clean the camera lens, open the actual calling app, sit in the normal position, and test at the real time of day. Keep the camera exposure setting and room lights consistent while changing only one variable at a time.
- The computer and calling app used for real meetings
- A lamp already at home or a window with an adjustable covering
- A plain sheet of paper for noting lamp position, brightness, color setting, and time of day
Step by step
Record the no-buy baseline
Capture a short camera-preview clip with the existing room and window light. Note facial shadows, eyeglass glare, background brightness, and whether automatic exposure visibly hunts.
Move the light off the camera axis
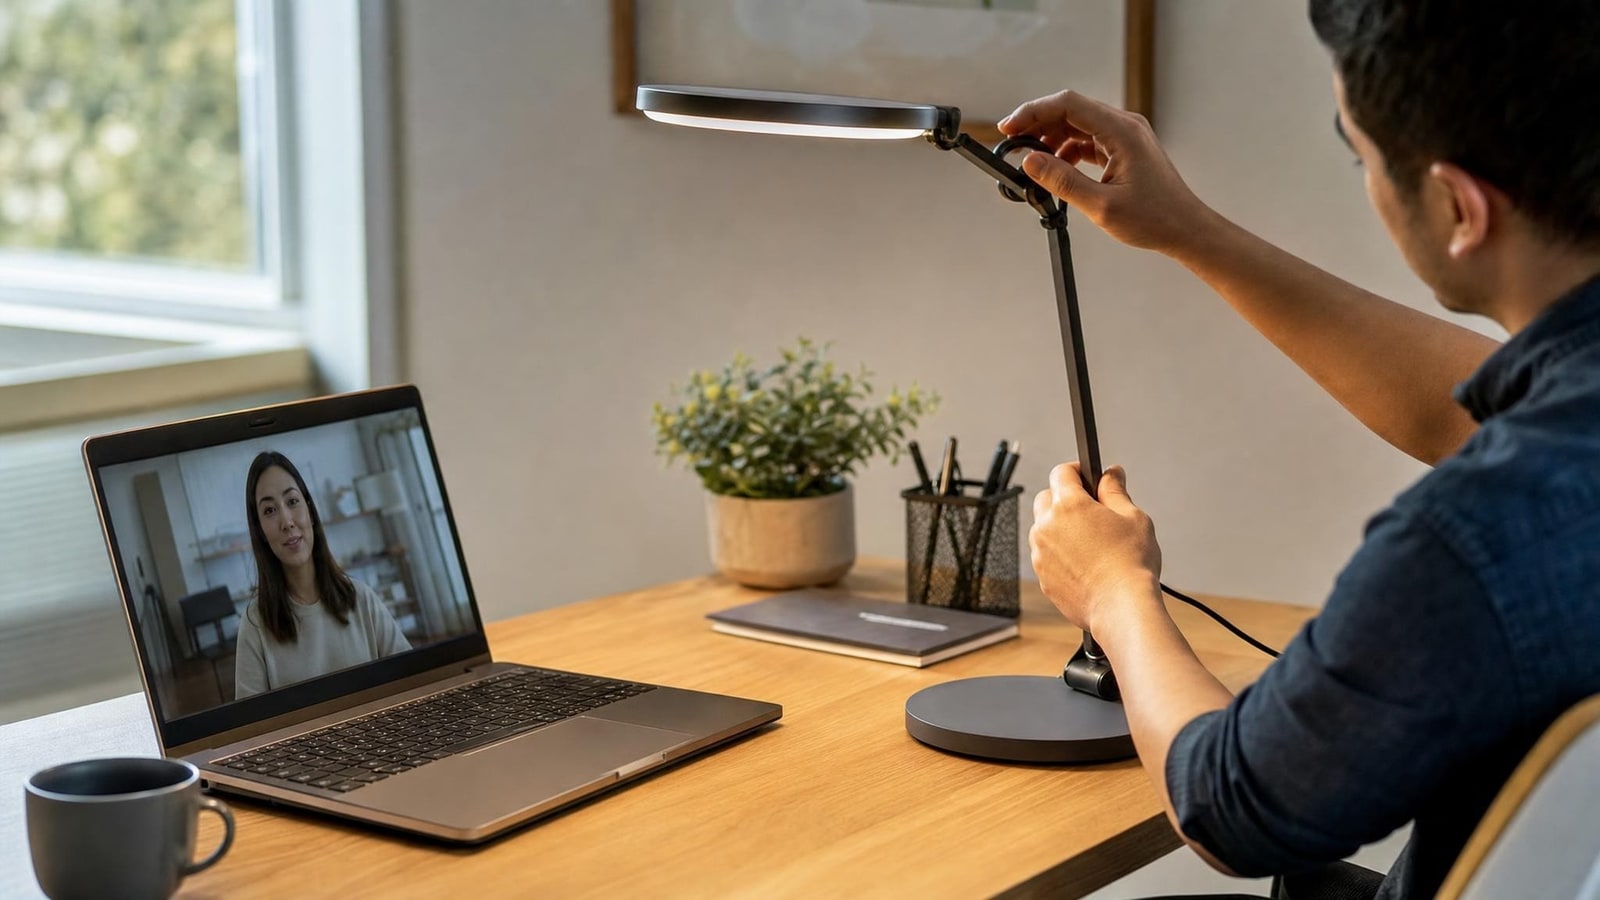
Place the lamp 30 to 45 degrees to one side of the camera and slightly above eye level. Aim it toward the face without pointing the source directly into the lens or eyes.
Change one control at a time
Test distance first, then brightness, then color setting. Keep the chosen position only when skin tone looks natural, the face is evenly lit, and screen or eyeglass reflections do not worsen.
Balance the background
If the face remains dark against a bright window, close or angle the covering before adding more lamp output. If the background is black, add ordinary room light rather than overexposing the face.
Save a repeatable setup
Mark the lamp location and record the successful brightness, color setting, window-covering position, and screen brightness. Repeat the test after dark before treating the setup as solved.
Troubleshooting
Bright rectangles appear in eyeglasses.
Raise the lamp or move it farther to the side, then tilt the glasses slightly only if comfortable. Do not solve reflections by staring above or away from the camera.
The camera repeatedly brightens and darkens.
Reduce the bright window or screen area in frame, keep the background light stable, and disable automatic exposure only if the calling app provides a reliable manual control.
One side of the face is still too dark.
Move the primary light closer to the camera axis in small increments or use a nearby pale wall as passive fill. Avoid adding a second uncontrolled point light until the first position is stable.
Quick final check
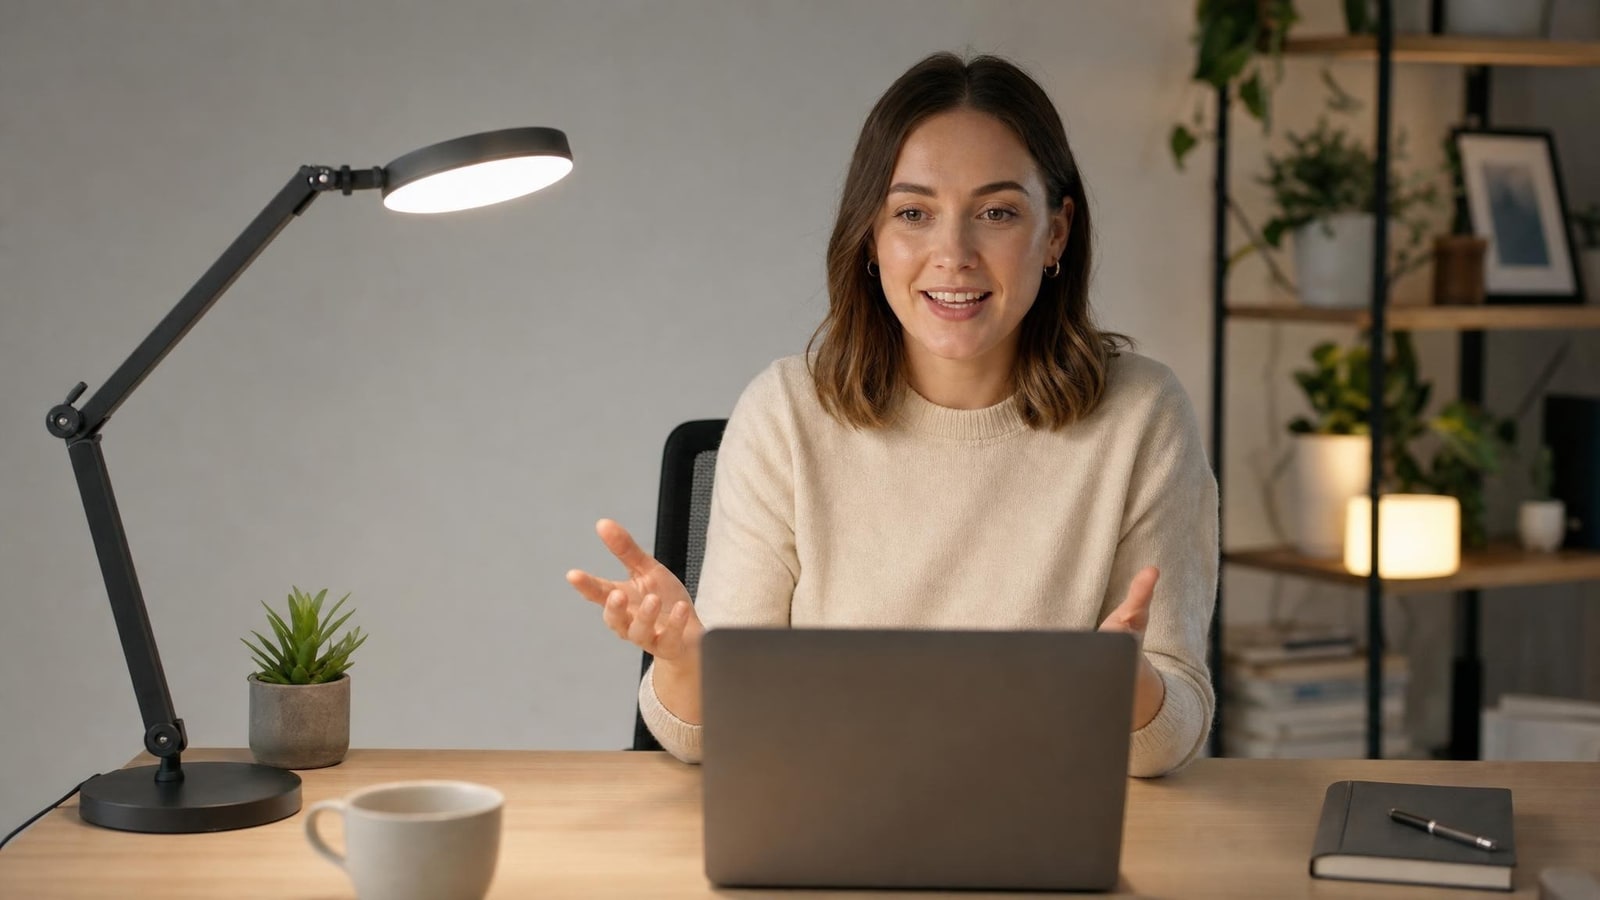
- The face remains evenly exposed in the actual calling app during a short recording.
- No new eyeglass or screen glare appears when looking at the camera and display.
- The lamp, cable, and clamp or base are stable and do not obstruct vents, ports, or walkways.
- The successful position and settings work both in daylight and after dark.
Bottom line
Keep the no-buy window or existing-lamp setup when it passes both daylight and evening checks. Compare the three lamp formats only when the test reveals a specific gap in aiming range, desk footprint, or mounting position.